Sunday, June 30, 2013

Shopping Cart Water Skiing

I got the idea from a friend who told me that he and his friends had done it back in high school. I've been wanting to do this for a while, but not having a boat readily available was a problem.

We used an old shopping cart that had been in my parking garage since before I moved in. We took the wheels off, mounted a 2x4 on the back and plywood across the rest of the bottom of the cart. We then mounted water skis on the bottom of the wood after moving the foot cups to the very back of the skis. Then we mounted an old snow skate deck in between the skis. We painted everything and put water noodles on most of the edges for padding and flotation. 

Be sure to check out the video below!


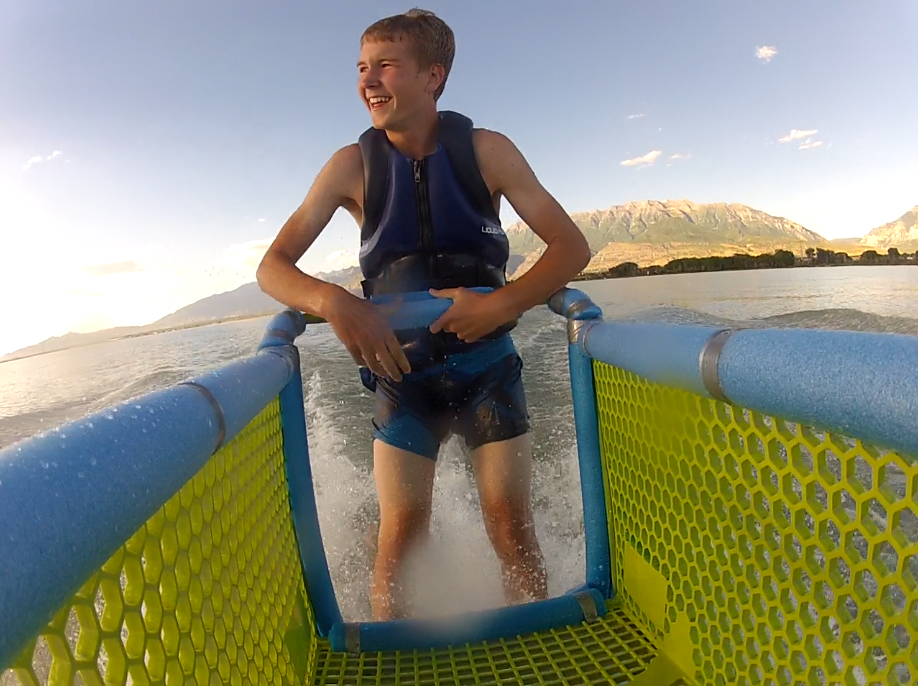
It actually floated really well despite how heavy it was. We started out with the rope attached to the bottom of the frame in front but with all our weight on the back, it never planed out. Then we attached the rope to the top of the basket in front and it worked perfectly. We were able to have one person on the back and one person in the cart. We could have tried to get more people up but the cart broke. It was actually very well balanced and even kept going by itself after we bailed. It ended up submerging after one guy bailed and the basket got ripped off the frame of the cart. So that was the end of our shopping cart skiing. 
Until next time.

Tuesday, June 25, 2013

Mona Rope Swing on Fire

Let me start off by saying that I don't have a death wish and I am not trying to push the limits of survival. Let me also say that this is not a hobby of mine. It was a one time stunt and that is it for me; I'm not looking for the next big thing. I also don't recommend that anyone try lighting themself on fire.


That being said, here's how it all went down. Our plans for the weekend fell through, and I was talking with a friend about how we should do something crazy and make the weekend memorable. Somehow the idea of lighting myself on fire came up. It was more of a half-hearted comment that guys make sometimes when they get together to brainstorm crazy ideas. Then word got out and there were quite a few people who wanted to come watch. That put some pressure on me to actually go through with it, and those who know me know that I will never back down from a challenge. So I started thinking about how to do it safely.


Most boys who have gone through boy scouts have probably lit their hand on fire for fun with some kind of flammable substance. The substance itself will burn for a couple seconds before it actually starts to burn your skin and then you can put it out with no harm done. I just decided to apply that concept to my whole body. I knew that I needed to end up submerged in water to completely extinguish the flames so we decided on the Mona rope swings. We used gasoline because of how easily it lights. I didn't want to be on fire longer than two seconds so we decided that I would be doused in gasoline, start swinging, and then be ignited mid swing. We decided that a few people could throw flaming tennis balls at me from the shore to light me and then the tennis balls would fall safely into the water. After doing a few test runs, we figured out the timing and practiced hitting me with the tennis balls. I put on a swim cap and covered my face in vaseline for protection. I climbed up the tree, got set with the rope, and then had someone pour the gas on me from the waist down. The people with the tennis balls below lit them on fire and got ready to throw them. I counted down and started swinging. They hit me with the tennis balls and I ignited immediately. I didn't even feel the flames until halfway through my back flip and right as it started to burn, I hit the water.


Obviously this went as well as was possible. We planned it out, tested it out, and took the necessary precautions. Never attempt anything like this because if anything were to go wrong, you could get third degree burns all over your body, or die. All it takes is a few seconds.


Sunday, June 23, 2013

Rocky Mouth Waterfall Rappel

Unlike the swirling sandstone waterfalls of southern Utah, Rocky Mouth Canyon is more of a European style slot through granite. Bring the whole family up to look at the waterfall and have a picnic or for the more adventurous, pack your rappelling gear and rappel down the waterfall.
Be sure to check out the video below!


There are two rappels, the first is about 60 feet and the second is about 70. For the skilled canyoneer, the first rappel can be downclimbed with very little exposure (when the water is low). For everyone else, you can set up an anchor off of a tree at the top of the falls. Whether downclimbing or rappelling, be very careful as the rocks are extremely slippery. The second rappel is anchored off of a chockstone under a massive boulder in the middle of the stream bed. On the first rappel your feet may get a little wet, but on the second rappel you will be right in the falls and will get soaked. On a 90 degree day in the middle of June this was not a problem, but in spring or fall you will probably want a wetsuit. Bring at least 15 feet of webbing and a couple of quick links. You will likely have to set up your own anchors for the first rappel, and you may need to replace the anchors for the second rappel. You will also want at least a 50 meter dry rope.


Directions: There is a signed parking area at 11300 S Wasatch Boulevard in Sandy since parking is not allowed at the actual trailhead. From the parking area, take the steps up to the road above and follow the road to the right. The trail is marked with a sign on the right after a few hundred yards. Follow the trail a quarter mile to the waterfall. To get to the top of the waterfall, follow the gully on the left (north) side of the stream up the hill. The trail leads up, then back to the right, and then down the hill to the top of the falls. You will be able to see where you want to go and route finding is very easy. From the bottom of the waterfall we were able to reach the top in about 15 minutes moving at an easy pace. The whole thing will take about two hours round trip.

Thursday, June 20, 2013

Boundary Canyon to Kolob Canyon

If you can't get a permit for one of the canyons in Zion's, you might consider Boundary Canyon. It doesn't require a permit because the technical section is just outside of the national park, hence the name. The technical section in Boundary is pretty short, but is a lot of fun. There are eight rappels all very close to one another and then you can enjoy a nice stroll down the rest of Boundary Canyon to Kolob Canyon. 
Be sure to check out the video below.

The walk through of Kolob Canyon along the route is a bonus that we weren't expecting. It is similar to the Narrows, but even more spectacular in my opinion. The exit to this route is not so cool however. By far the most difficult exit hike for any slot canyon I've done. The silver lining in the MIA exit was that the trail was easy to follow the whole way.  

Doing some bush whacking on our way to the start of the canyon.

Looking down the canyon from the start. Amazing how it went from a 
stream bed to a 600 foot deep canyon in less than a quarter mile. 


Precious.


Caleb doing an Australian rappel.

Finally made it back to the car after 11 hours.
(We took our time going though the technical section) 

Subscribe to YouTube channel calebsl1

For specific directions and GPS waypoints, join the Circle of Friends at climb-utah.com.

Monday, June 17, 2013

Sand Hollow Cliff Jumping

Sand Hollow is a great place to do some cliff jumping for those without a boat because you can access the cliffs from the parking lot at the state park. It's a great place to bring the whole family to jump off the cliffs or just swim around. You can jump from any height, water level up to about 30 feet. 
Check out the video below!


There are a few downsides: there's always a crowd, you can get swimmer's itch from the water there, and it costs $10 to get in at the state park entrance. I've heard there's a way to sneak in from the neighborhoods to the north, but I don't know any details on that.


It takes less than half an hour to get there from downtown Saint George. Take exit 16 just north of Saint George and follow the signs to Sand Hollow State Park.